Intelligent Automation Solutions
Autonetics offers intelligent automation solutions specifically designed to optimize and automate manufacturing processes. Although equipment will vary based on the type of application needed, the desired result is often accomplished using scanners, lasers, vision cameras and electromagnetic sensors to automate your inspection procedures. Using feature identification can dramatically improve production by detecting flaws quickly, tracking parts for organization and precise part location.
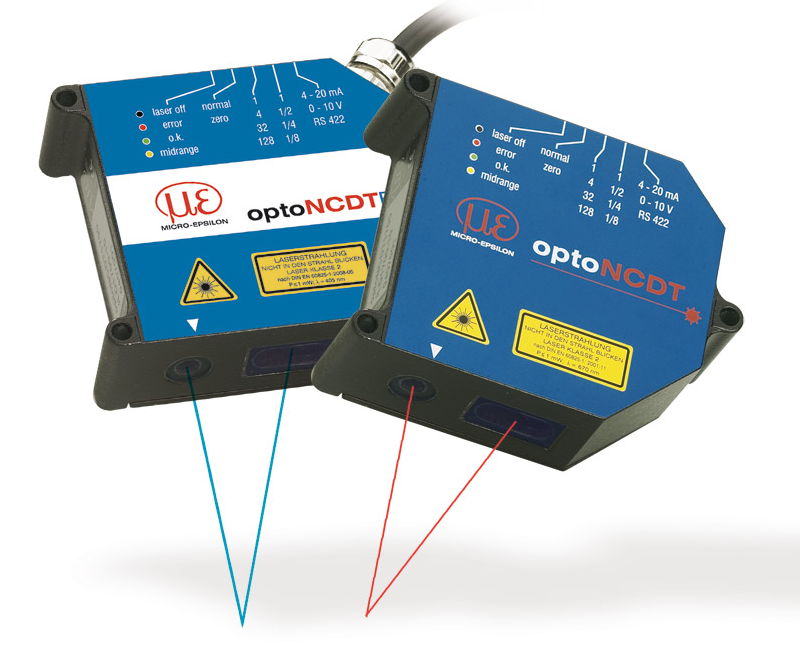
Scanners are among the highest performing profile sensors with respect to accuracy and measuring rate. The latest models available are suitable for numerous industrial and laboratory purposes. The surface or the surface profile is regularly a decisive feature for quality control inspection. Laser line scanners are frequently used by Autonetics project specialist on robots for these types of applications. Traversing laser point sensors are also used to measure a surface profile for inspection systems in static mounts.
Typical applications: Profile, gap, width, height, depth, edge, groove, beading, angle, roundness, presence, evenness, deformation
Example: As pistons for pumps must have very precise surface geometries, the work piece may be required to undergo 3D shape measurement. A laser scanner can be moved vertically by means of a linear actuator. In doing so, the piston is rotated within the measuring range of the scanner. Using Autonetics proprietary software, necessary information on geometric dimensions and relationships are attained. A resolution of 3µm can be achieved using this type of application.
Machine Vision systems provide reliable visual inspection results with the added benefits of inspecting in dirty, rough, industrial and hazardous environments. Depending on the inspection required, the most suitable camera will be selected or combined with other cameras via Autonetics digital I/O platform. Many options are available, from high speed monochrome cameras for simple part positioning to 5 million pixel, color cameras for data sensitive part quality inspection. Combining OEM and Autonetics software adds flexibility, allows for easy upgrading and facilitates changes to be made based on alterations in the inspection criteria.
Typical applications: Optical gauging, sorting, presence/absence detection, print inspection, counting, porosity detection, robotic guidance
Examples: Inspecting the surfaces of bathtubs for scratches and stains by comparing the current image to a gold standard. Finding irregularities in small engine castings by detecting hole/no-hole scenarios programmed into the recognition software.
Electromagnetic Devices have been used successfully in extremely harsh environments for discovery of a specific feature position with a high degree of accuracy. This principle is used by Autonetics in applications on electrically conducting materials which have ferromagnetic or non-ferromagnetic properties. A high frequency alternating current is passed through a coil, the electromagnetic field of the coil induces currents in the work piece whereby the resulting impedance of the coil changes. This change of impedance causes an electrical signal which is proportional to the distance, this basic data is then processed using our interpretive software which feeds the information directly to the CNC controls.
Typical applications:Precision; peak, groove, notch, pin or hole location
Example: A cast or extruded aluminum compression rotor is placed in a machining center. Precise location of the spiral vanes are required to correctly machine the part to close tolerances. An actuator presents the device during the positioning sequence as the chuck is rotated determining the correct start setting for the CNC control.
Autonetics’ experienced project specialist have developed many applications to promote efficiency in manufacturing lines by giving production equipment the ability to automatically acquire needed information. Contact our team for design consultation concerning your requests and requirements.


