You have a Problem, We have a Solution
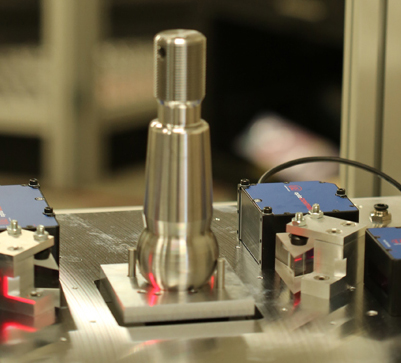
Autonetics is frequently approached to provide a solution for measureing work pieces, inprocess where no off- the- shelf product is available. We begin by setting in motion a dialog with the company’s engineering team to fully understand the application and requirements. This will often lead to an innovative product or process with far reaching results. One such project has lead to the design and production of a non-contact, multi-geometry, true position gauge. This mobile application was designed for thread form inspection servicing multiple machines.
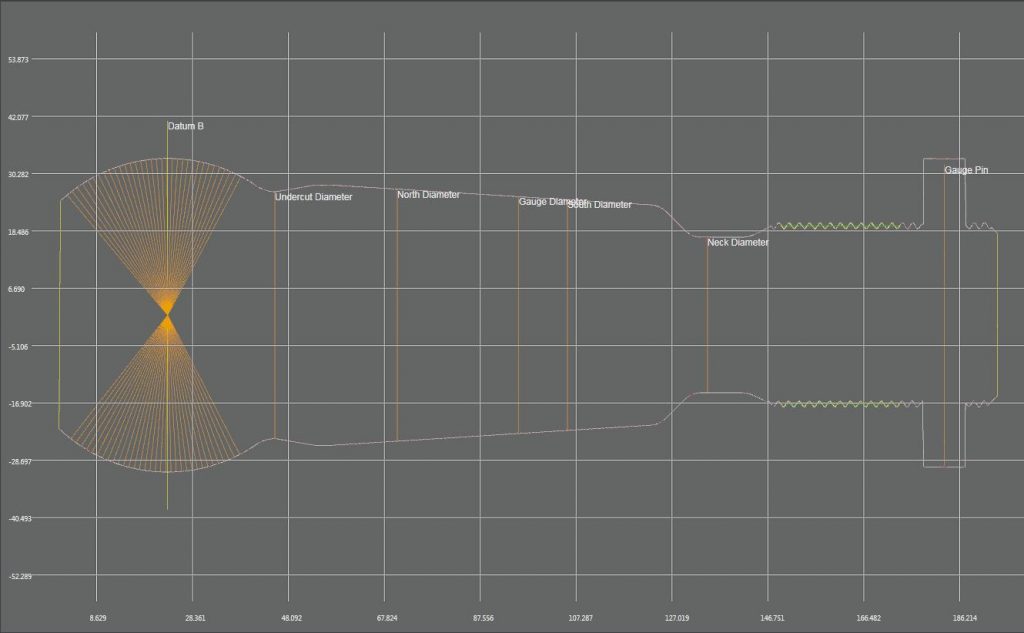
The work piece, in this case a steering component for automotive and heavy equipment, required automatically gauging the sphericity of one section while discovering the center point of the ball end to reference the relative position of other features.
Ultimately the application was required to measure taper, under cut diameters, shaft diameters, through hole location and thread pitch diameter with true position results for each. In addition the unit must be compact, mobile with short cycle times to serve individual machines and operations.

In the past roundness and sphericity of manufactured balls have been measured using a rotating probe instrument based on a spindle with a highly repeatable roundness error and high resolution. However this process required lengthy cycle times, contact probes and finally was unsuited to integration and the manufacturing environment. Autonetics had key metrology products for OD and thread gauging for the factory floor, what was necessary was a new approach to expanded capability.
All our software is developed in-house. This proves a considerable advantage when faced with tough problems and allowed us to confidently accept the project.
Depending on the strategy, profiles cross one another on different points on the investigated surface. Development of prevailing algorithms and hours of programming and analysis were deployed in a proof of concept at our optical lab resulting in repeatable measurements with a resolution of 100 nm. Although this is lower than the resolution of typical laboratory equipment it exceeded the requirements ten fold and permitted advancement to the next step in the process.The first objective was to select a mathematical method to the roundness / sphericity issue in order to locate feature position. Numerous strategies can be applied to measure sphericity deviations.
A true position callout defines a zone where an axis or center plane of a feature can vary from a theoretical exact true position. The function of the callout is broad and is used to control a varying array of features to their respective datum reference frames. This is highly important in steering geometry and the production of steering components. Once the sphere could be reliably established calculating the center point and reference fame was comparatively straightforward. These algorithms and associated programs were integrated with the Autonetics SGU gauge design for dimensional measurements and thread gauging. During testing a number of work pieces were gauged to reveal the limits of the technology. A wide variety of turned parts were scanned showing a significant ability to determine selected points of orientation for true position.
The completed application was put into production in the spring of 2013 with immediate success and has proved to be a reliable tool for improving quality and production.


